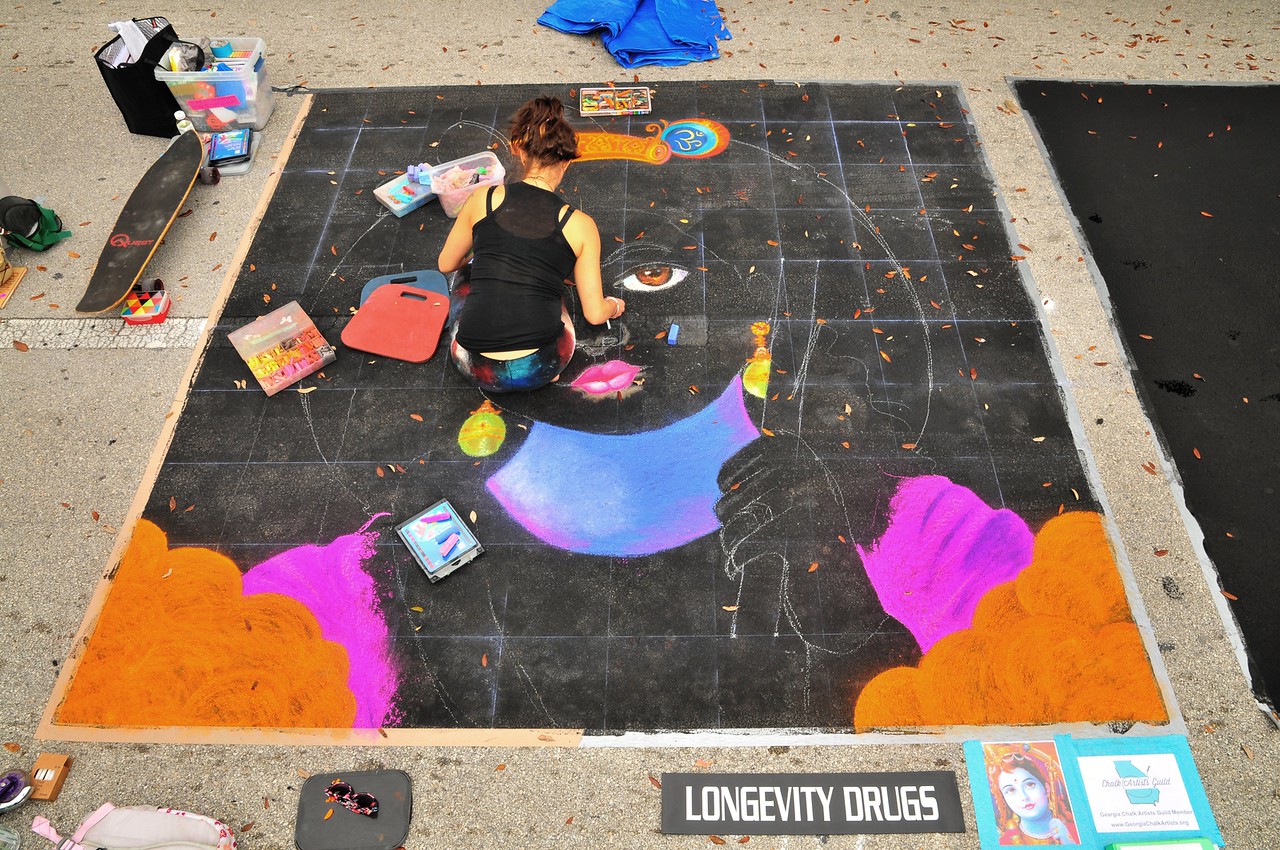
When you’re creating a chalk mural, it’s not uncommon for people to comment about how amazing it is that you can draw like that and that they can’t draw a stick figure, etc. What they don’t realize is that most of us area just breaking it down into simple shapes and essentially filling in a large self-made coloring sheet using the Grid Method.
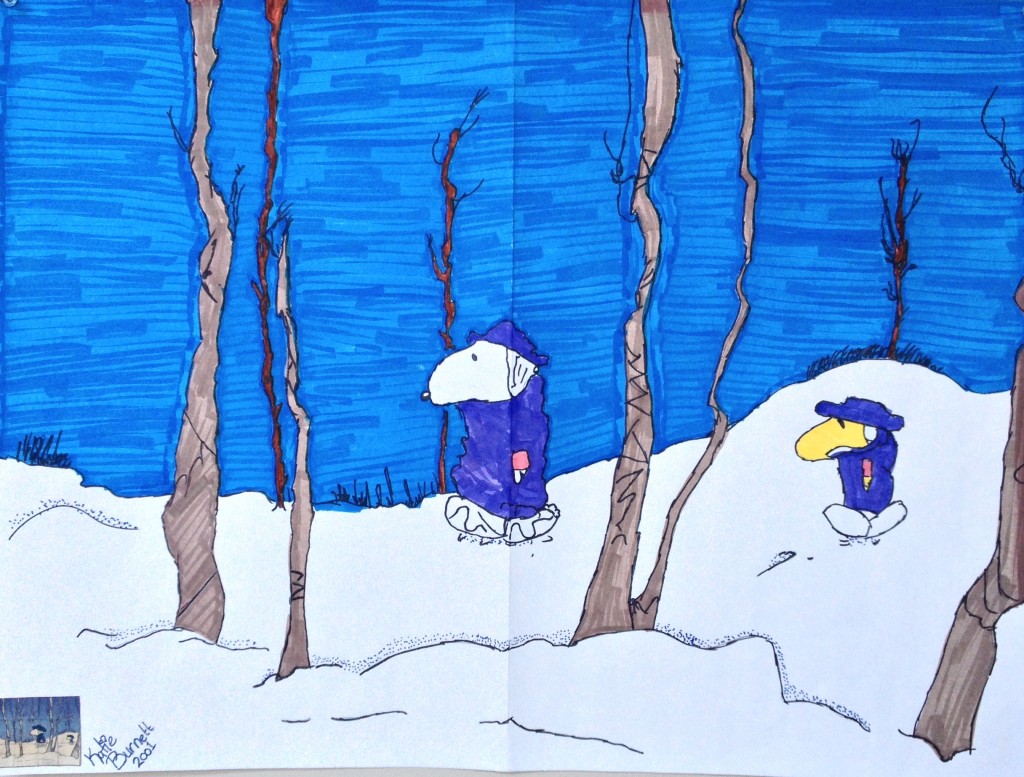
In this tutorial, you’ll learn how to use “the grid method” like a pro to create a 2-dimensional piece (the 3d chalk works are a bit more complex, so we will keep it simple for now). The grid method has been around for a long, long time- The ancient Egyptians used it, as well as many Renaissance artists. Today, it is commonly taught in middle school as one of the first steps for children to learn to draw accurately. I remember my first introduction to the grid method in seventh grade, which was a Lichtenstein-inspired comic replica of a still from Snoopy.
Essentially, the grid method is when you take a reference image, draw even squares over top of it (a grid) and you create the same size grid on whatever it is you want to draw/paint/chalk, and you use the original reference image to try to recreate the image square by square into the new substrate so that it looks the same.
Need a better idea of what I’m talking about? This is what the final drawing looked like from my middle school project:
This is the original comic cell I based it off of:
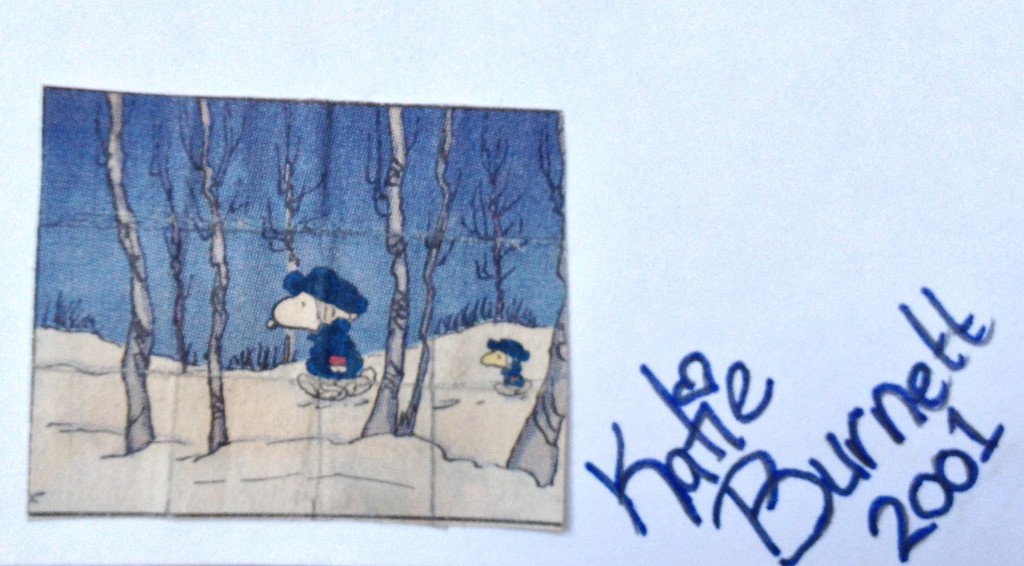
As you can tell, I dissected the reference image into 12 even squares. Even squares are the key. This image was dissected by hand.
Luckily for you, I developed an awesome computer trick to get it done accurately and timely, and you can access that blog post here: “Chalk 101- How to easily grid your reference image”.
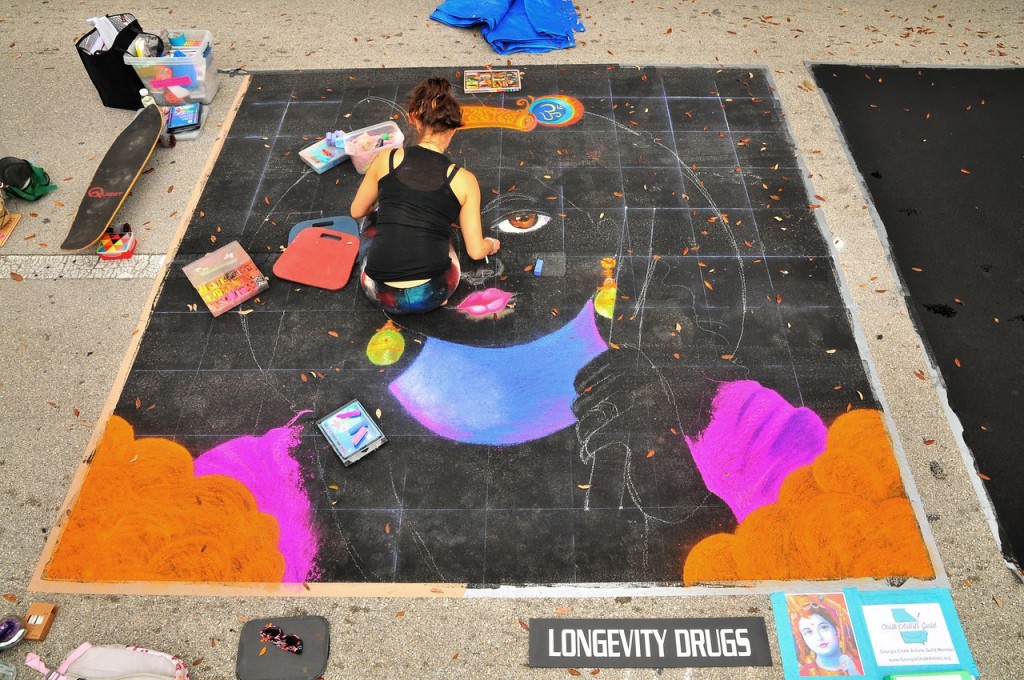
How does this translate into chalk? That’s a great question. Chalk artists use the grid method to turn their reference image into their final chalk piece, which is usually much, much larger than the dinky size of the reference image. In this tutorial, I’m not only going to walk you through how to use the grid method, I’m going to give you some tips that will act as shortcuts to hard learned lessons of chalk works past. Ready? Here we go!
Step 1- Grid your reference image and have it printed out and ready to go. (Learn how to grid your reference image easily in this blog tutorial I referenced earlier).
Step 2- Identify how many squares tall and wide your piece translates to. Figure out how large you want each reference square to be in real life: 1 foot square? .5 foot square? etc. If it helps, in my work, I translate each square of my reference image to be 1 foot square. Jessi, another GACAG member, always does .5 foot square per reference image square. The more squares you have, the more accurate your piece will probably end up, which is why her pieces always look amazing. However, in my experience, the more squares you have, the more likely you are to get confused. For that reason, I will be using 1 reference square equals 1 square foot in this tutorial.
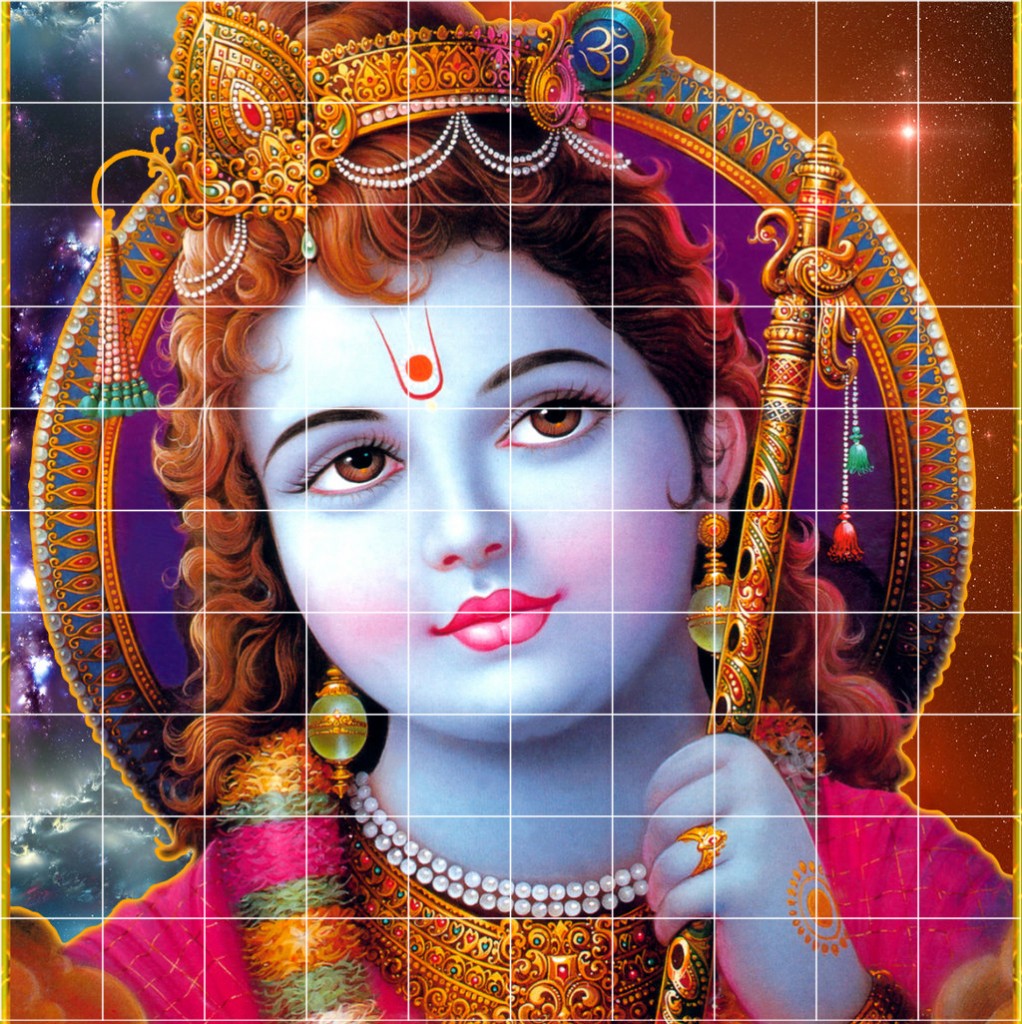 This piece translates to 10 feet by 10 feet, since each square represents 10 square feet.
Step 3- Use a measuring tape to mark the corners of where you will be chalking. I recommend sweeping this area prior to doing anything else.
Step 4- Use duct tape to block off the edges/parameters of where you will be chalking. Try to get it as straight/accurate as you can (it doesn’t always work that way). GACAG member Zach uses the Pythagorean Theorem to make sure that each corner has a precise 90 degrees. Some people just eyeball it.
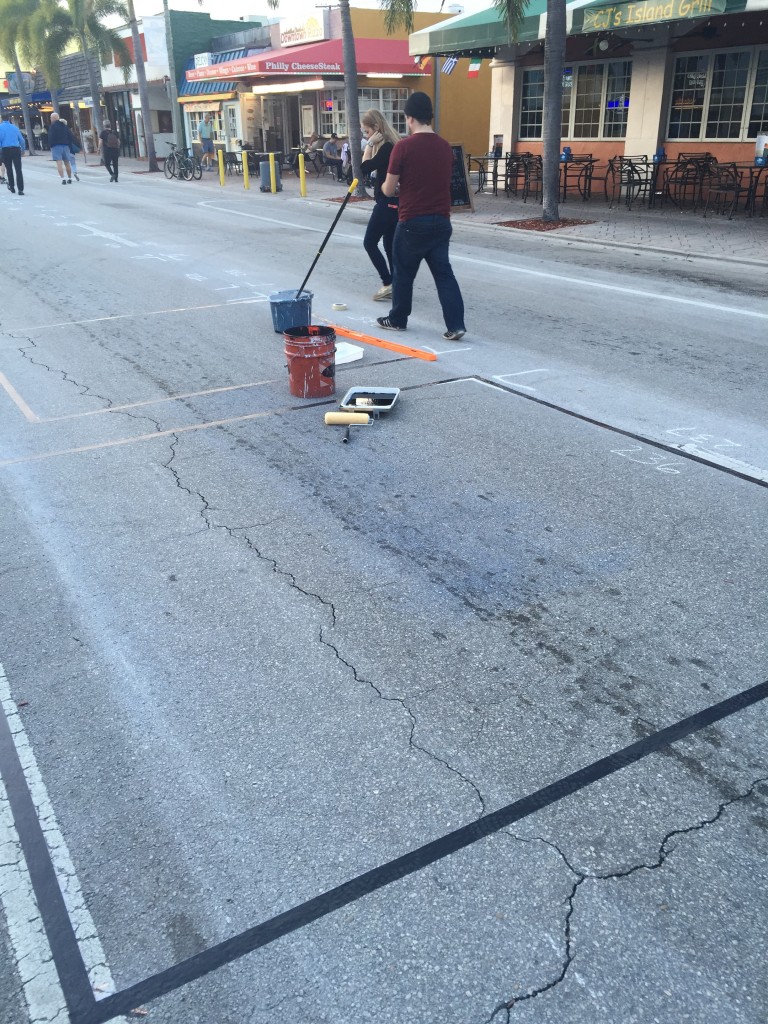
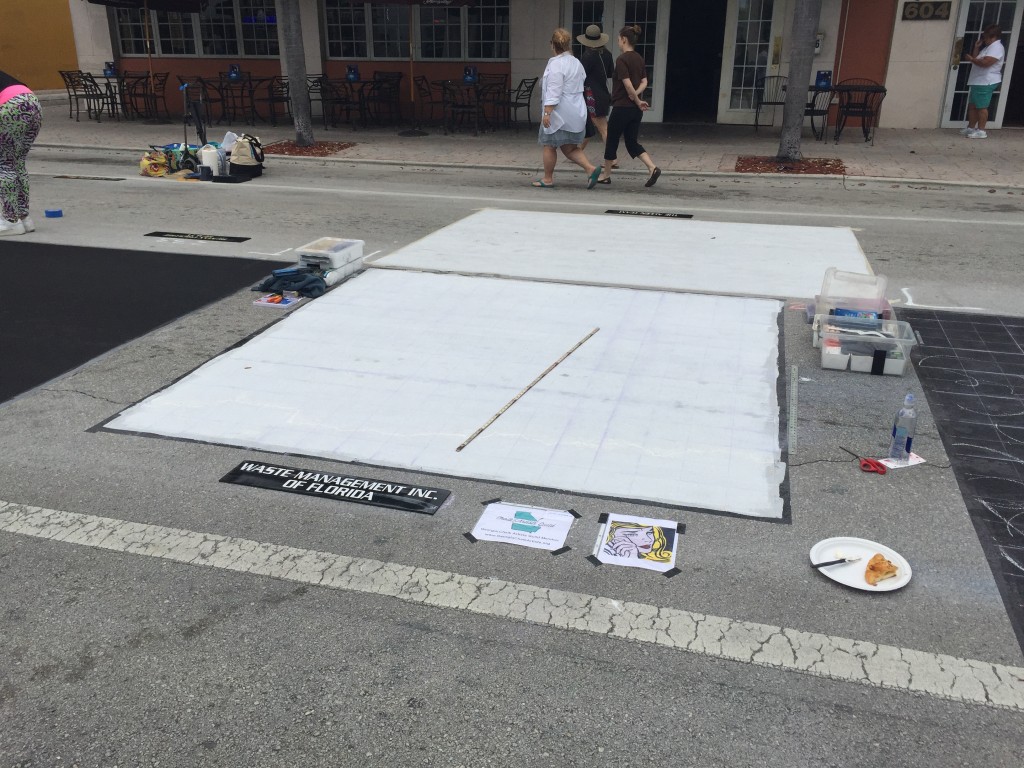
Step 5 (optional)- Use a paint roller to roll out a tempera base for your work. Not everyone does this and it works better on some surfaces than others. Stay tuned for another blog post about the pros and cons of using tempera as a base and/or the color(s) you should use a as a base.
 Sometimes people drive/walk/bike through your tempera base, but it’s alright because you’re going to make some killer art on it anyway. Can’t get you down!
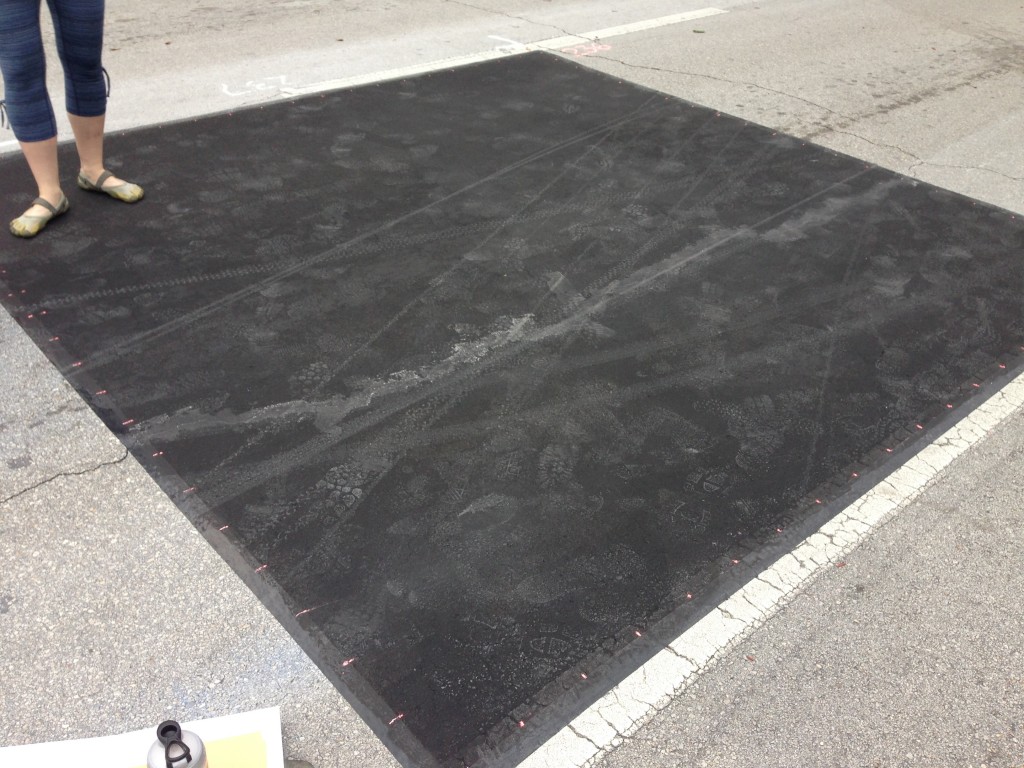
Step 6- Use a measuring tape and a piece of chalk to measure and mark exactly where each foot is. See the above image for how Jessi marked her piece. MAKE SURE THAT YOUR TEMPERA PAINT IS DRY BEFORE YOU DO THIS. Do this for each side of your chalking parameters. Follow steps A through E (below) exactly to ensure a successful piece. Sometimes when I forget these steps, some things end up wonky. Trial and error taught me.
A. Determine which side is the bottom of your image.
B. Start at the bottom left corner and mark every foot from left to right.
C. Start at the top left corner and mark every foot from left to right.
D. Start at the bottom left corner and mark every foot from bottom to top.
E. Start at the bottom right corner and mark every foot from bottom to top.
If some of the footage is off a tiny bit and/or your square ends up NOT being exactly a square, it will not matter because you followed steps A through E so your piece will not have any problems.
Step 7- Use a chalk line to make your grid. See the bottom of this blog post for how to use a chalk line (if you don’t know already). To make your grid, align the bottom/top markings (the ones you made in step 6) to each other and use a chalk line to mark them.. Then align the markings on the sides and use a chalk line to mark them. This will make a complete grid over top of your piece. If done correctly, your area should be covered in even squares.
 Look closely to see this grid Zach was laying out.
Step 8- Using your reference image, begin marking significant shapes on your grid. In this step, you are making your own coloring sheet. Let your reference image tell you where everything goes. If this is too confusing, mark each square of your reference image with A, B, C, etc on one direction, and 1, 2, 3 on the other direction. You can mark the squares on the ground the same way. That way, when you’re marking shapes, you’ll know that “E4” is where the eye goes, etc.
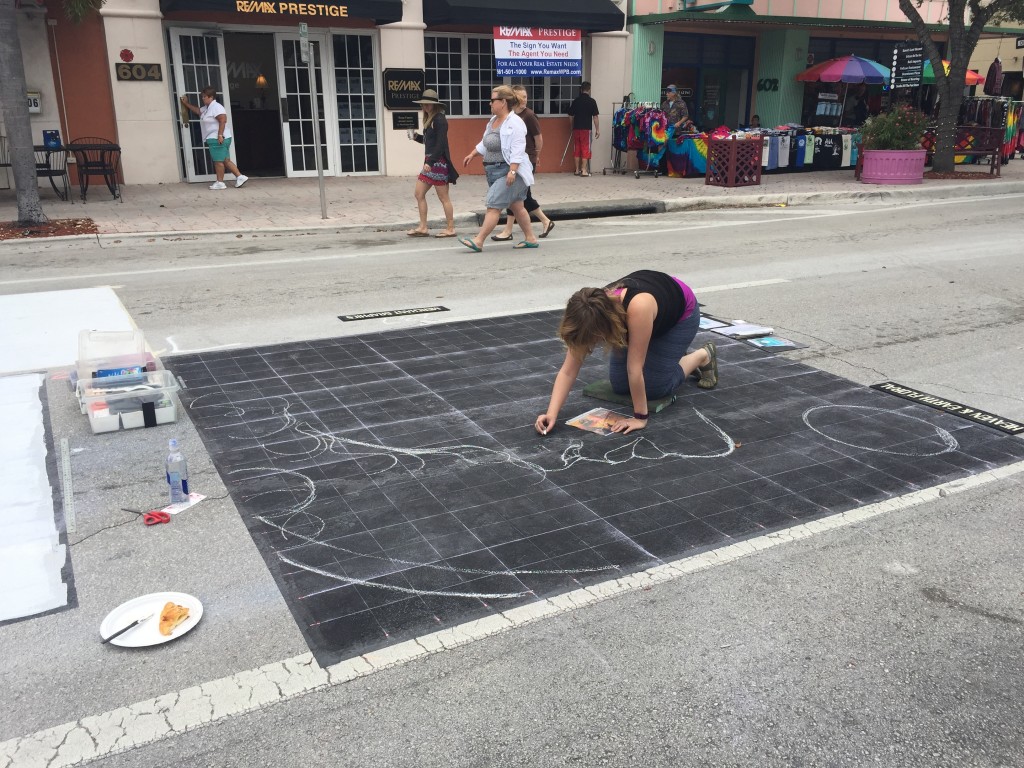 This is a great example of how Jessi started her piece after gridding. Here, she’s marking where everything goes so she can start step 9 easily.
Step 9- Begin coloring in your chalk work, still using the reference image as a guide. I would suggest doing square by square, starting from the center moving out. Be careful that you don’t block yourself in or leave something out that may be difficult to get to later. Personally, I do all of the most fun parts first, like eyes, etc.
Step 10- Continue coloring your chalk work until it is complete. By using the grid method, and paying attention to what you put inside of each square, you’ve ensured that your piece will be fairly accurate. Now you get to do the most satisfying part- pulling up the tape! Yay! When you’re done, congratulations! Post it on Instagram using our #gachalkartists handle!
Tips and tricks:
Protect your reference image. A lot of us laminate it or use a plastic sleeve to keep it from getting chalky. What’s great about laminate/plastic is that, if it does get dirty, you can just wipe it with a baby wipe and keep on going!
Let your image talk to you. It sounds super silly, but this is something that my college professor taught me and it’s always stuck. It’s as easy as standing up, walking away from your work, and turning around to see how you are doing. Is there a part that’s a little bit off? Is there something missing that you forgot? Analyze what you’ve already done and let it inform where you are going.
How to use a chalk line: It works best with two people, but, in a pinch, you can use something heavy to weigh down the end of the line. Make sure that your chalk line has chalk inside of it, shake it very well. Pull the end of the chalk line and align it with the two points that you want to create a line between. Pull the chalk line so that it is taut. One person will grab the line with their loose hand, pull the line up, and let go. The chalk line should hit the ground and make a perfectly straight line in chalk.


109 Comments